In Notifications settings, you can easily configure your preferences for wishlist and notification display, whether it’s through tooltips, toasts, or text validations.
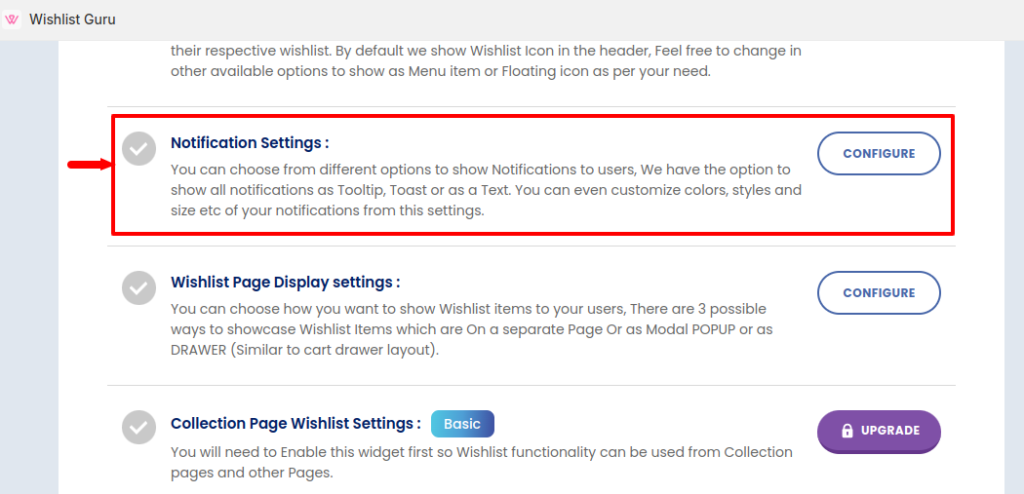
Go to the Dashboard page and within the Quick Access Link section find the settings that say “Notification setting“ and then click on the Configure button.

You will be directed to the section as shown in the image below of the General Settings page.

Within this section, you have the following option:
- Show Wishlist
- Show Notification
Show Wishlist: #
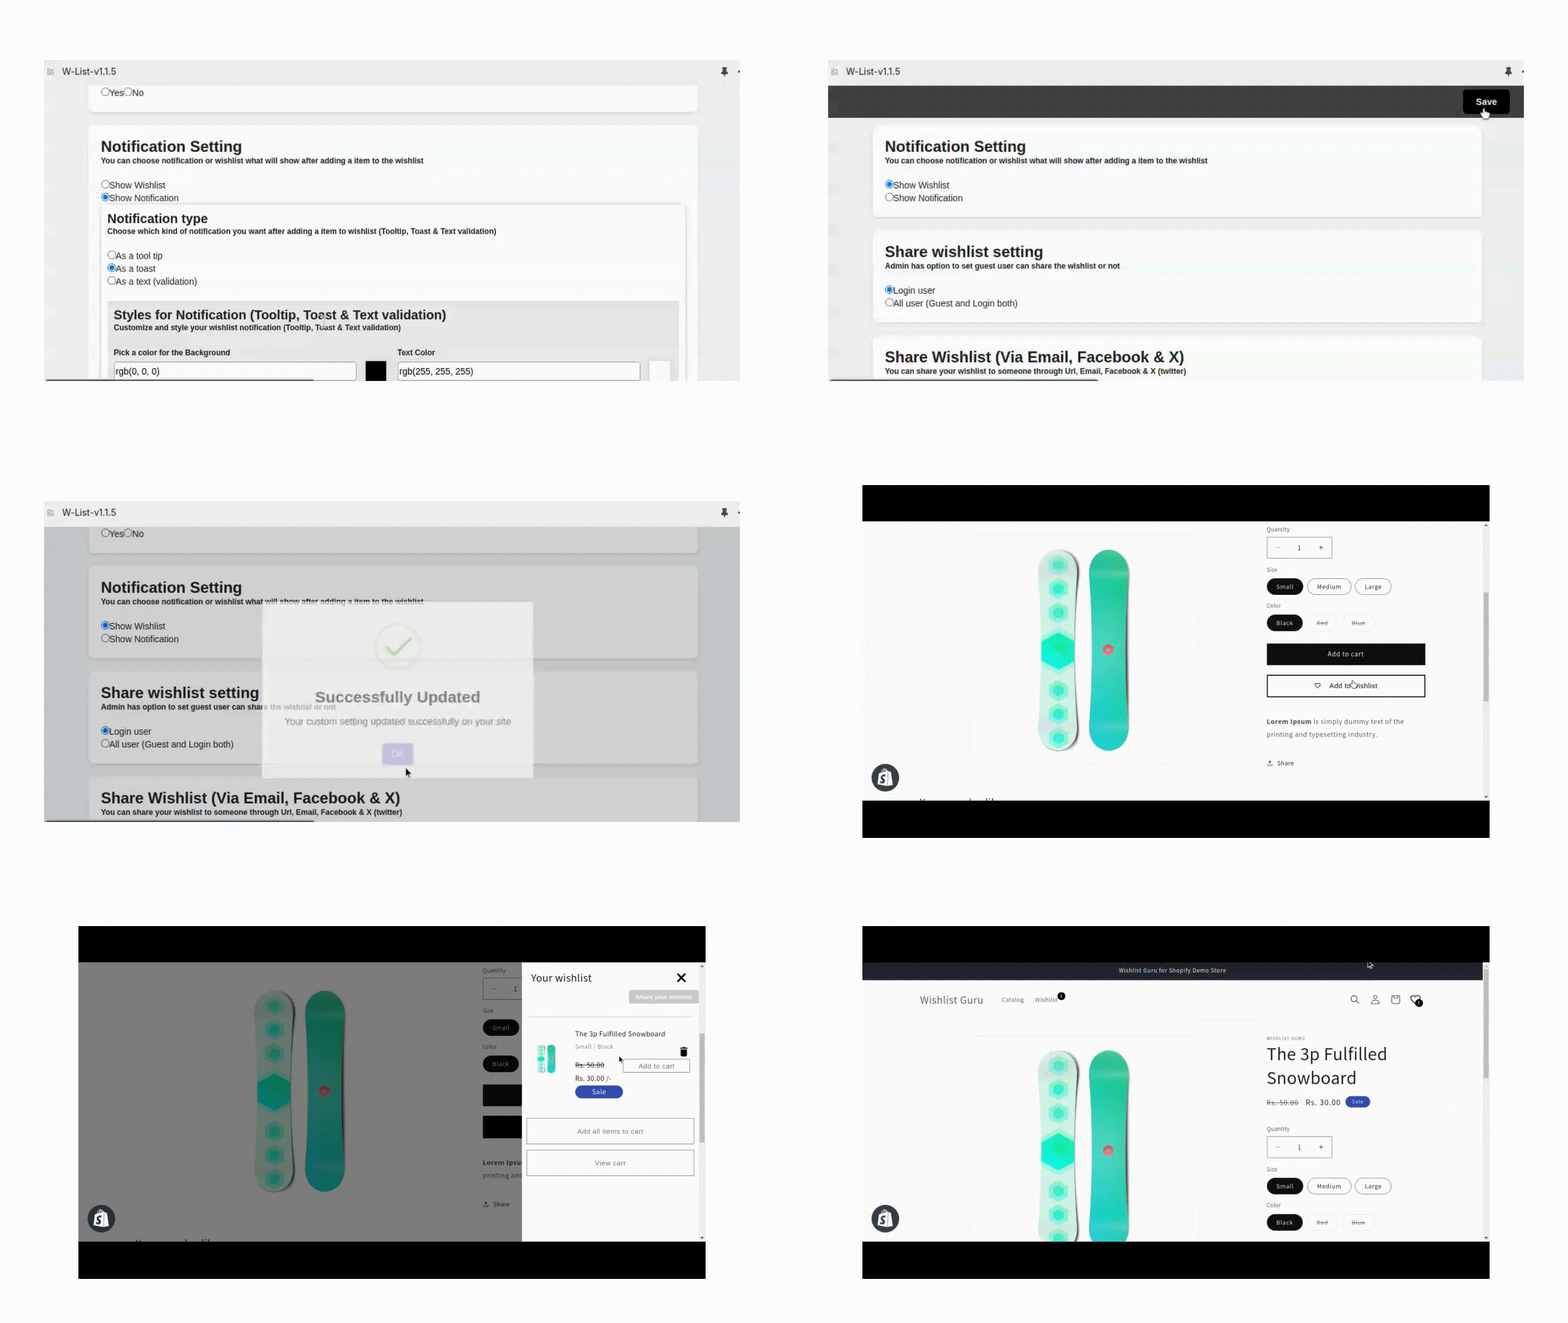
When you select the option “Show Wishlist” then the wishlist will open according to the UI selected by you. For example, a drawer is opened when UI is selected to the drawer when we click on the “Add to Wishlist button”.

To learn more about UI type you can visit the following articles:
Enabling the Wishlist Guru feature through the Site Menu
Enabling Wishlist Guru through Modal
Enabling Wishlist Guru through Drawer
Here is a video below that shows how you can enable Show Wishlist settings

When you select “Show Notification” then follow the procedure given below:
Show Notification: #
Notification Type: #
When we select the notification setting to Show Notification then there are 3 types of options available which are As a tooltip, As a toast, and As a text which are shown in the image below:
1) As a tooltip: #
When you select the option As a tooltip, there are two further options as shown in the image below:

2) As a toast: #
When it is selected as a toast you have the following options for Placement for choosing the location on the screen for the toast:

3) As a text: #
Opt for a text-style notification after adding an item to the wishlist.
You can choose where the text will appear with the wishlist button:

Notification Delay Timer #
In this setting, you can set the amount of time for which you want to delay the timing of the notification before it appears.
Note*- Save settings after configuring the Wishlist notifications by clicking on the “Save” button to apply the changes.


