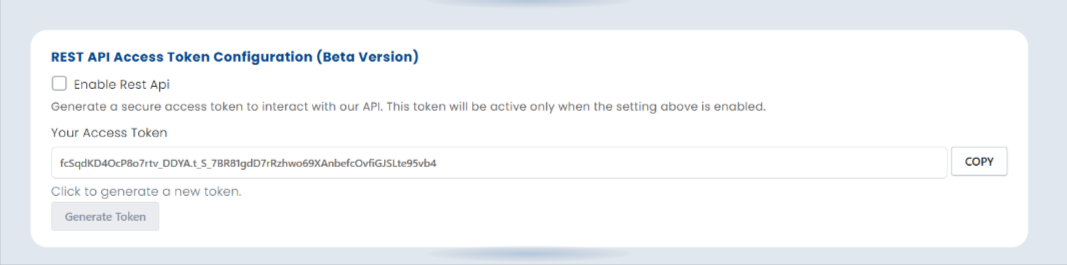
REST API Access Token Configuration (Beta Version)
Step 1 — Enable REST API
- Go to your Wishlist Guru app settings
- Find the REST API Access Token Configuration section
- Check the box "Enable Rest Api" to activate it
Step 2 — Generate Your Access Token
- Click the "Generate Token" button
- A unique secure access token will be automatically created for your store
- Note: Token will only be active when REST API is enabled in Step 1
Step 3 — Copy Your Token
- Your token will appear in the "Your Access Token" field
- Click the "Copy" button on the right to copy it
- Store it safely — this token is used to authenticate all your API requests
Step 4 — Use Your Token in API Calls
Add your copied token in the Authorization header of every REST API request
Example:Authorization: Bearer YOUR_ACCESS_TOKEN
Step 5 — Generate a New Token (If Needed)
If your token is compromised or expired, click "Generate Token" again
Warning: Generating a new token will invalidate your previous token immediately — update it everywhere you've used it