
In this article, we delve into the collection icon settings and also provide insights into crafting an effective Collection icon for your Shopify store.
In order to have a complete knowledge of how to use the icons at your convenience and various other options there are certain steps to be followed which are given below:
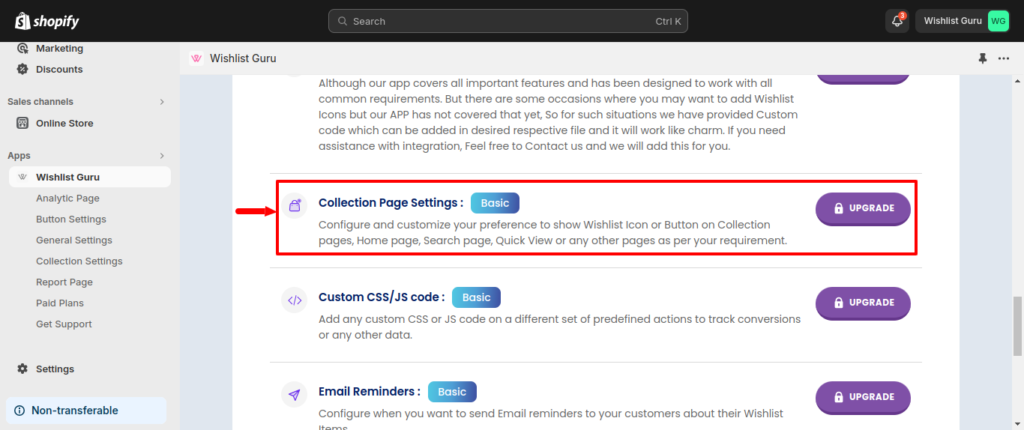
Go to the Dashboard page and in the Quick Access Links section find the settings that say “Collection Page Settings“ and then click on the Configure button after that you will be taken to the page where all the settings related to the Wishlist UI are located.
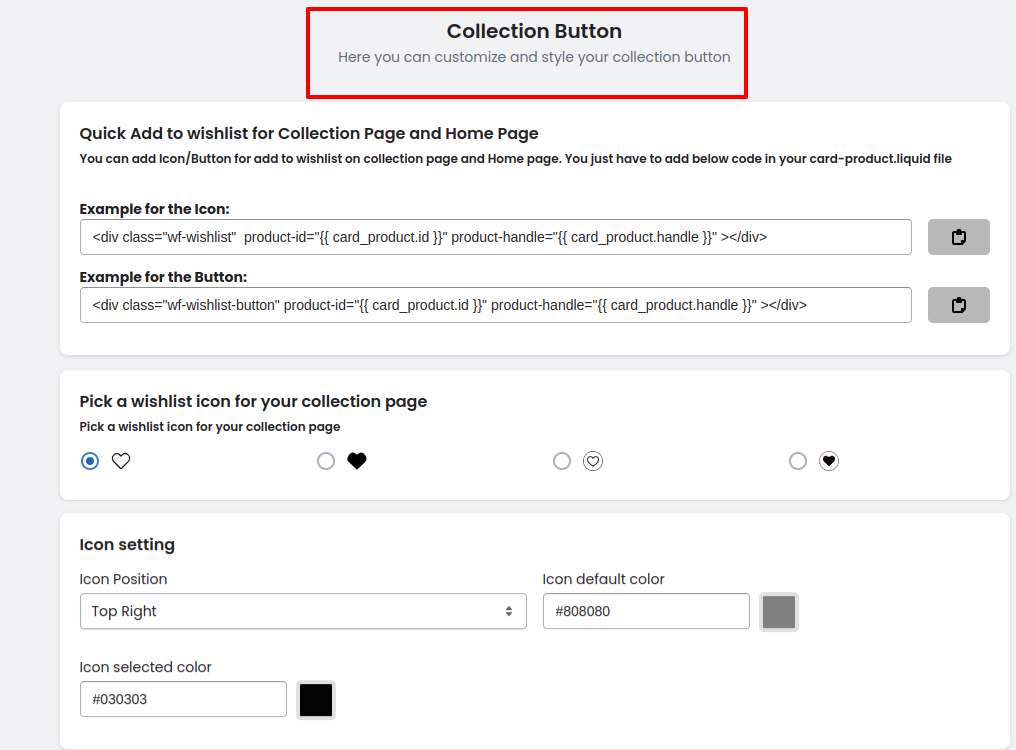
You will be directed to the desired Collection Settings page. Within this section, the following options are given which are as shown in the image below:
Types of Icons #
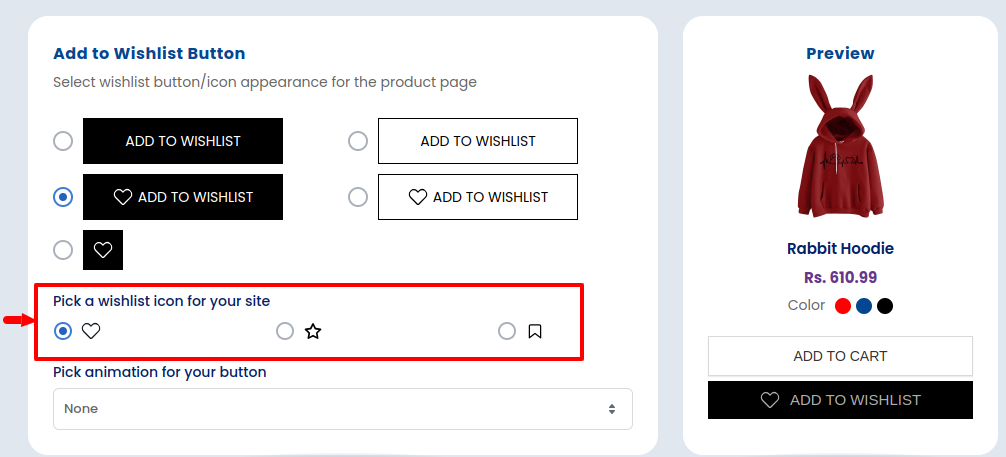
You can change the style of your wishlist icon, below mentioned is the heart icon as an example but you can also choose a bookmark icon or a star icon whichever suits your needs as mentioned below.
Styles #
Here you can choose a wishlist icon design. This selection will adopt the global color scheme and icon settings configured in the app settings.

Position
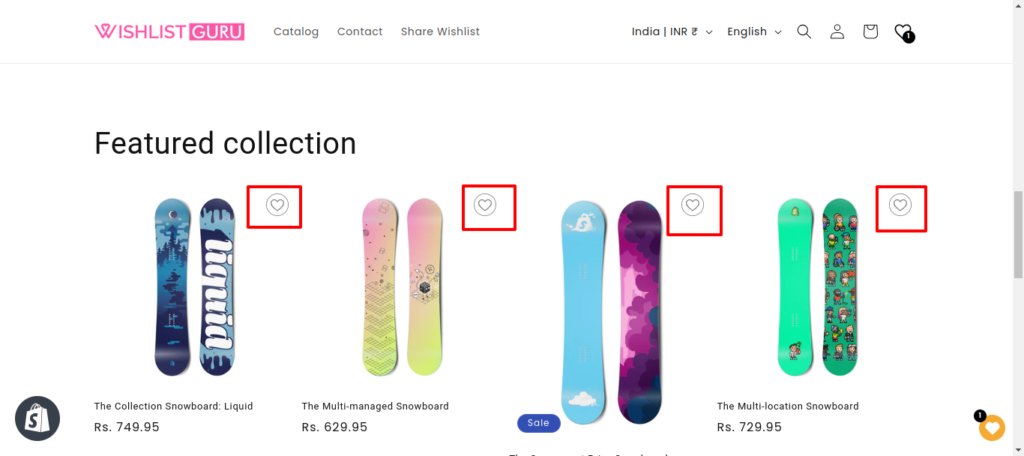
Our floating collection buttons effortlessly overlay product images, seamlessly integrating with all current themes available in the official Shopify theme store as shown in the image below:
You can also change the color as well as the position of your wishlist icon as per your choice through the settings as shown in the image below:

Apps Compatibility #
Our app code is compatible with the two apps mentioned below and also provides customization with the many other apps coming in the following weeks which will be highly compatible with our code!
- AI search, Filter Recommended by Boost
- Sparq product Filter and Search


