A wishlist button enables customers to save products they’re interested in and return to them later—helping improve engagement and increase purchase intent.
With Wishlist Guru, the Add to Wishlist button is typically enabled automatically once the app is installed and the initial setup is completed. It appears on your product pages across all themes where the app extension is active.
If the button is not visible or you want more control over its placement, there are multiple ways to enable or display it on your product page. Below are three methods you can use:
How to Show Wishlist Button Using Wishlist Guru #
Method 1: Auto Inject #
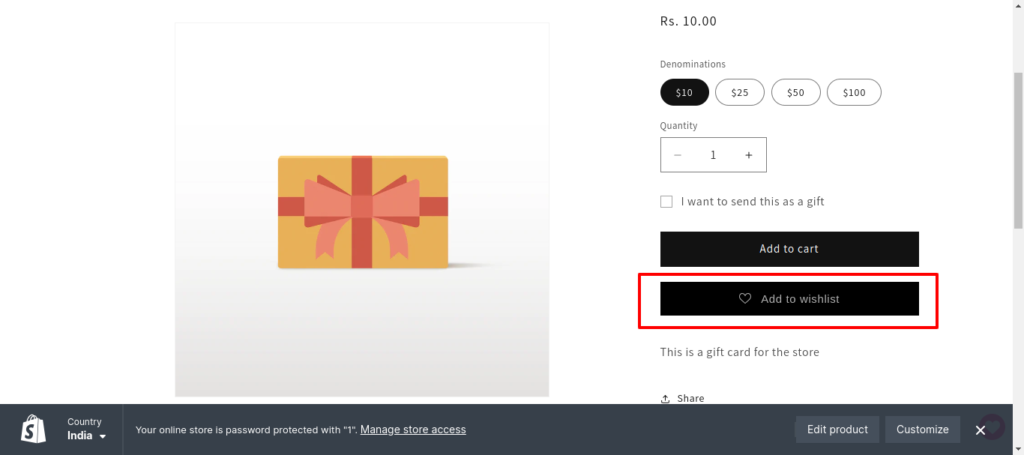
This is the default method which is used by our app to make things super easy for customers where we show the Add to Wishlist button on the product details page by default and this button will get auto injected below ADD TO CART, You can check or change this with the following setting:
Method 2: Manual placement using theme customizer – by adding a block #
If somehow your theme doesn’t show the ” Add to wishlist” button automatically or if you want to change the position of the auto-injected button, then we will recommend you to use this MANUAL method. In this method, you can use the Theme customiser and add our Add to wishlist button block on your Product templates and then DRAG AND DROP it at any position you want. Please follow the below steps to achieve this.
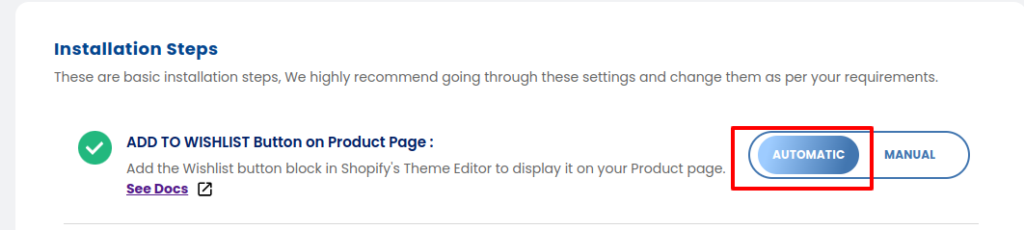
Step 1: From your Dashboard, choose Manual instead of Automatic. See screenshot below

Step 2: Click on the Configure Button, which will show after choosing the Manual option in Step #1, which will open Theme Customiser.
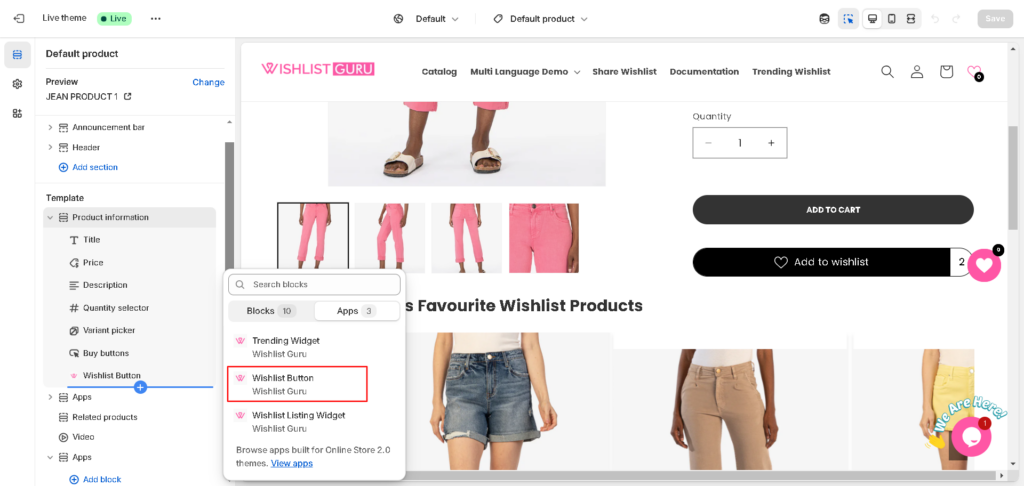
Step 3: Add the “Add to Wishlist” Button block to the Product Details Page and Simply drag the block to your desired spot on the page, ensuring it seamlessly integrates with your design aesthetic.
Step 4: Click Save to apply the changes. The Wishlist button will now be visible on your live theme.
Method 3: Through Custom code – This feature is only available in the Basic Plan #
Sometimes it is required to show Add to wishlist button on top of Product images or in between add to cart button and buy button or any such place where it can be handled by above 2 methods then you can use this method. By using custom code, you can strategically place the “Add to Wishlist” button wherever you desire, whether on the home page, collection page, or other locations.
Step 1: Log in to your Shopify Admin.
Step 2: Navigate to Online Store > Themes > Edit Code.
Step 3: Search for “product.json” in the specified area to find the files linked to your product template. Identify the named section in your product template, which is “main-product” for this theme.
Step 4: Simply add the code below at the desired location to display your button with slight modifications.
Note*- Depending on your theme, the data-productID may vary. Adjust the code accordingly to ensure compatibility. If your theme’s data-productID is different, replace it accordingly. As in our case, data-productID is the product.id
So we have to put the code as:
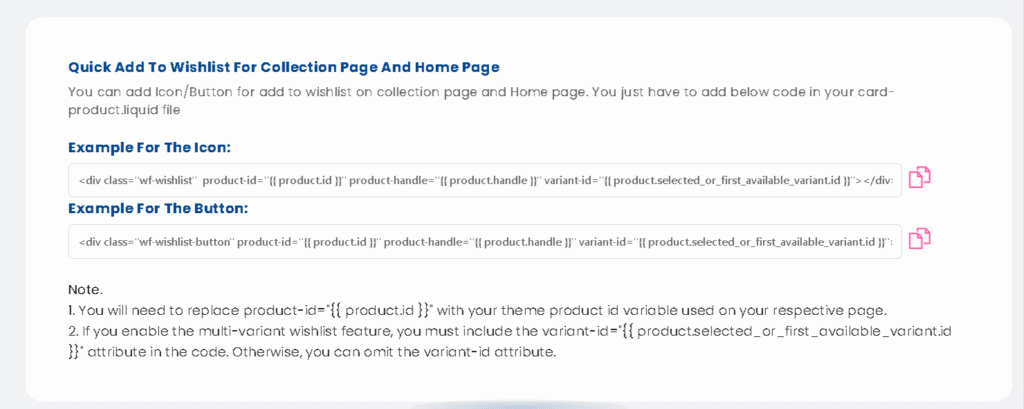
Example for the Icon:
<div class="wf-wishlist"  product-id="{{ product.id }}" product-handle="{{ product.handle }}" variant-id="{{ product.selected_or_first_available_variant.id }}"></div>
Example for the Button:
<div class="wf-wishlist-button" product-id="{{ product.id }}" product-handle="{{ product.handle }}" variant-id="{{ product.selected_or_first_available_variant.id }}"></div>Congratulations! Your wishlist button is now positioned exactly where you want it to be.
You can customise and style the Add to Wishlist Button on : Learn here #
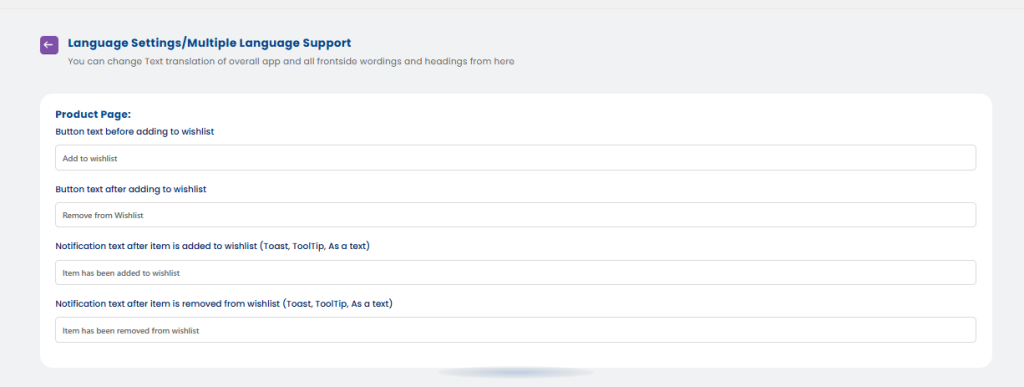
How to change the Button and Notification Text: #
- Go to the Dashboard page or General Settings (check screenshot)
- Navigate to Language Settings/Multiple Language Support
- Click on Edit Settings
- Find Manage your store front languages
- Choose which language you want to change text to
- Click Edit Translation,
- Find Product Page Section