
Let’s delve into the Wishlist App Dashboard! The image below provides a glimpse of your dashboard’s appearance.
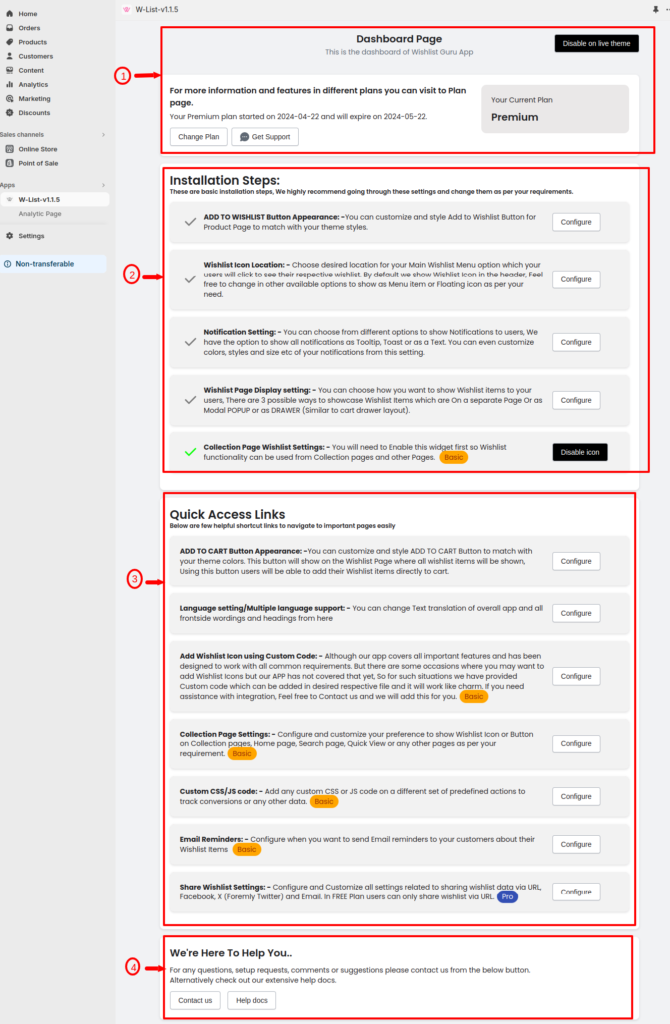
Let’s break it down step by step and dive into the details, assisted by visual images for a clearer understanding.
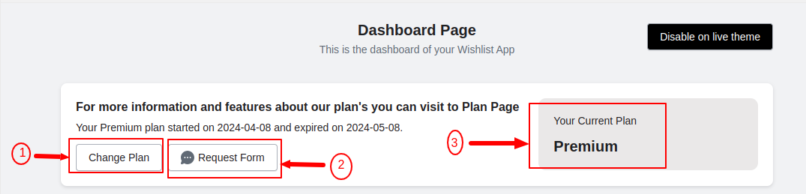
01. Plan details #
Point 1: #
This directs you to a dedicated page where you can find comprehensive details about different subscription plans offered by the Wishlist App. It provides insights into additional features and benefits available with each plan.
Point 2: #
This tells you about the form that you can fill out to request services regarding Theme setup, customization, feedback, and others. You can also leave a message for the developers of the app.
Point 3: #
This is a quick summary reaffirming your present subscription tier Plan. It serves as a clear and concise reminder of your current plan status. If you wish to explore upgraded features, you can refer to the Plan Page for more options.
02. Installation steps #
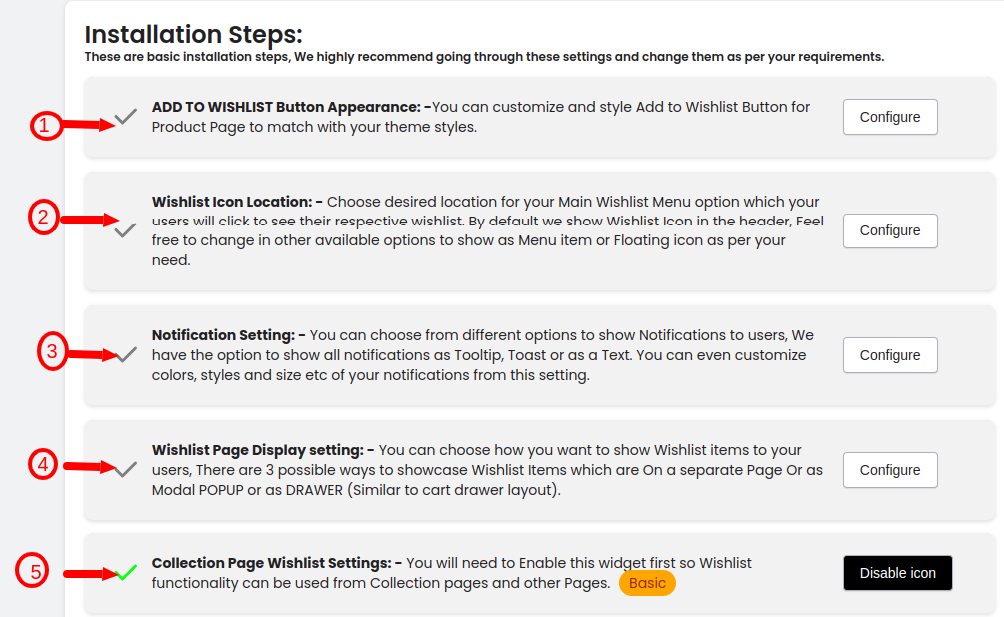
Below is an overview of the installation steps for a better understanding of the app as these steps easy installation of your app on the store:
Point 1: #
Add to Wishlist Button Customization: Tailor and stylize the appearance of the “Add to Wishlist” Button on the Product Page to suit your store’s aesthetics.
Point 2: #
Wishlist Icon Location: Easily access the wishlist from three different locations – menu, header icon, or floating icon, providing convenience and flexibility to your users.
Point 3: #
Notification Settings: Personalize notification preferences by selecting from Tooltip, Toast, and Text validation options. Additionally, you have full control to customize and style notifications as per your brand’s identity.
Point 4: #
Wishlist UI Type: Choose between Modal and Page options for the wishlist UI type, allowing users to effortlessly view their wishlist items in the preferred interface style.
Point 5: #
Collection Page Wishlist Settings: Here you can select whether to show the wishlist icon on the collection page or not.
03. Quick Access #
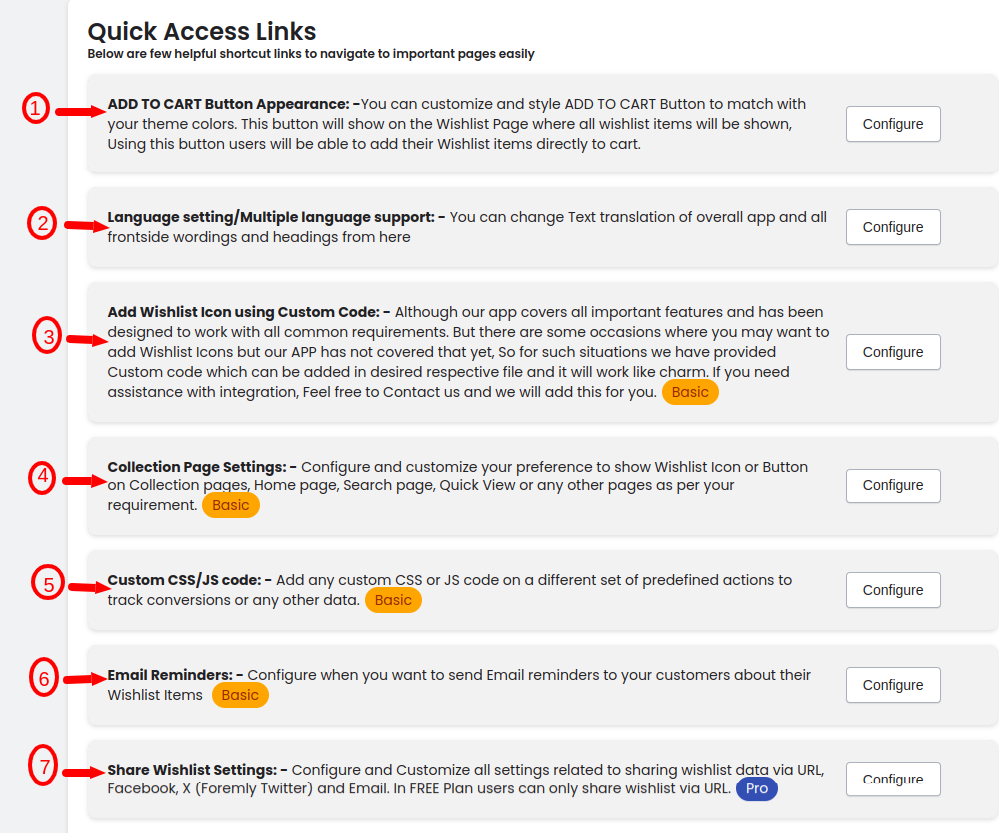
In the Quick Access section of the dashboard, find easy access to 7 essential settings for your Wishlist App. Customize everything from the appearance of buttons to language support, notification types, and even sharing options—all in one convenient spot!
04. Help Section #
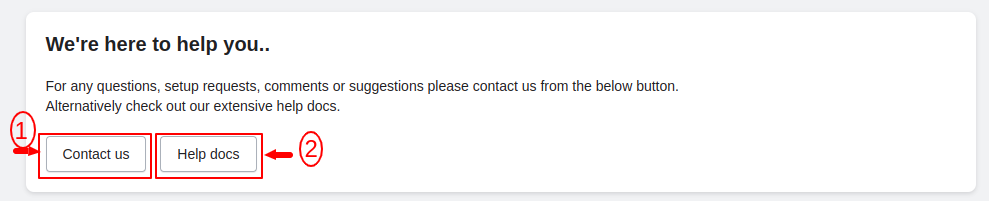
If you need any help regarding the app you can contact us or can use the help docs to find the solution to your queries.


