
To enable the icon/button on the home page or other parts using Wishlist Guru, follow the given below instructions:
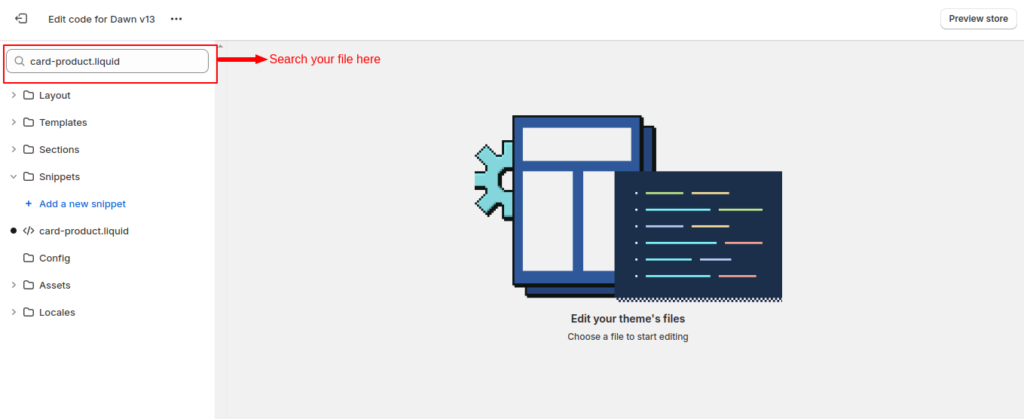
Step 01: Navigate to the Shopify Admin Console and go to Online Store > Themes > Edit Code.
Step 02: Search for the file that is used to render products to your home page or other pages. In our case, it is card-product.liquid file.
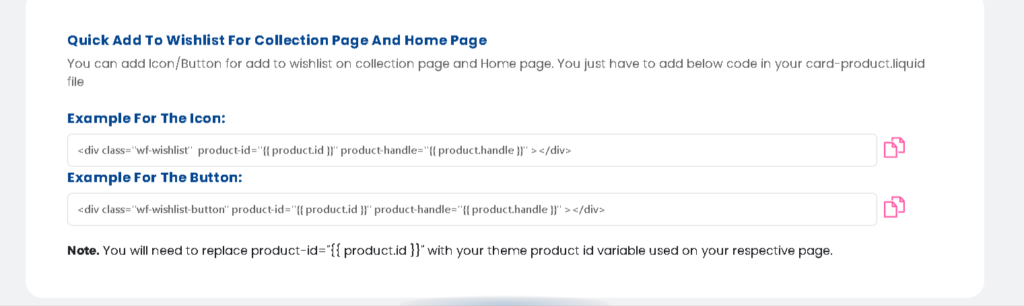
Step 03: Add the following custom code snippet at the appropriate location (where you want to show your icon/button) within your file (“card-product.liquid”).
Example for the Icon: <div class=”wf-wishlist” product-id=”{{ product.id }}” product-handle=”{{ product.handle }}” ></div>
Example for the Button: <div class=”wf-wishlist-button” product-id=”{{ product.id }}” product-handle=”{{ product.handle }}” ></div>
Note*- Depending on your theme and your file your data-productID may be different so you have to use that id instead of product.id.
Note*- Don’t forget to save your settings after adding these code snippets to your files.
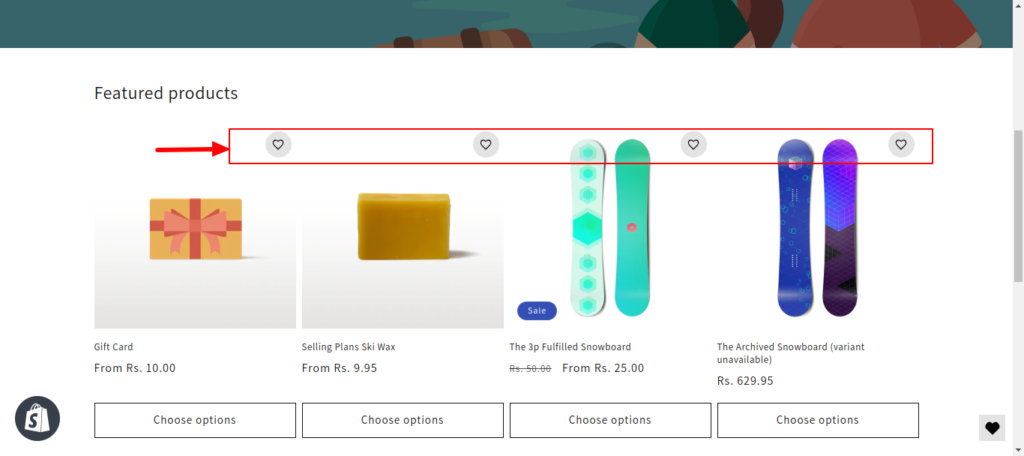
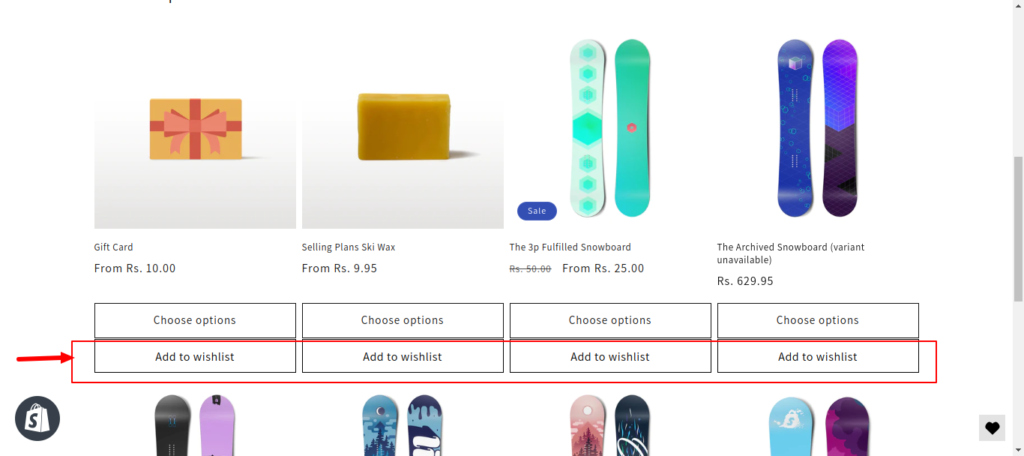
Congratulations! Your wishlist icon/button is now positioned exactly where you want it to be.


