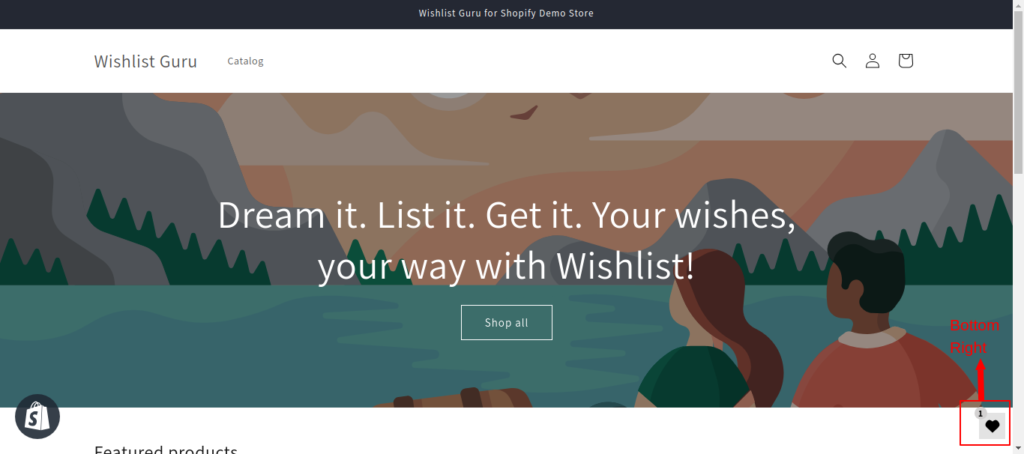
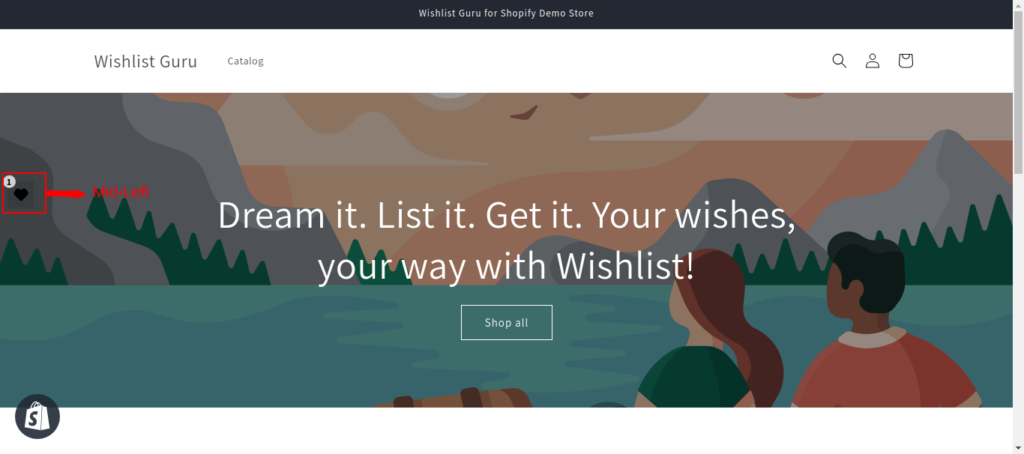
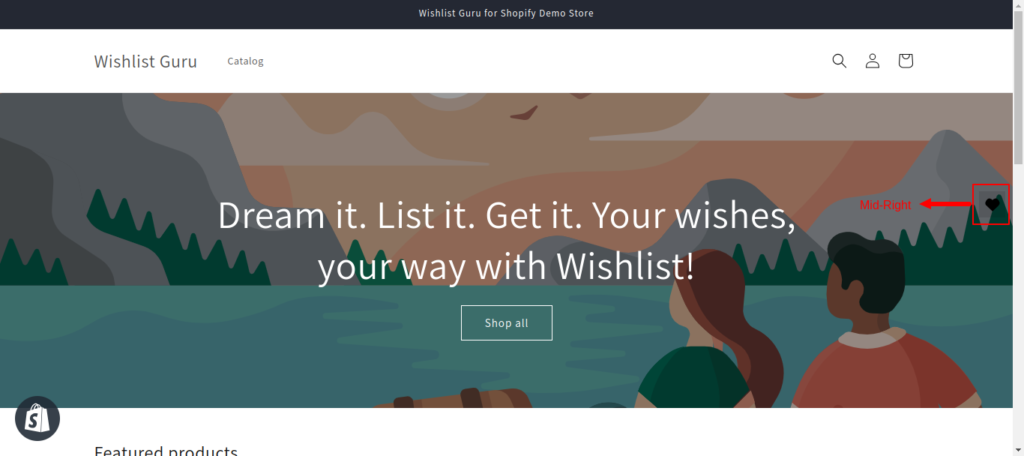
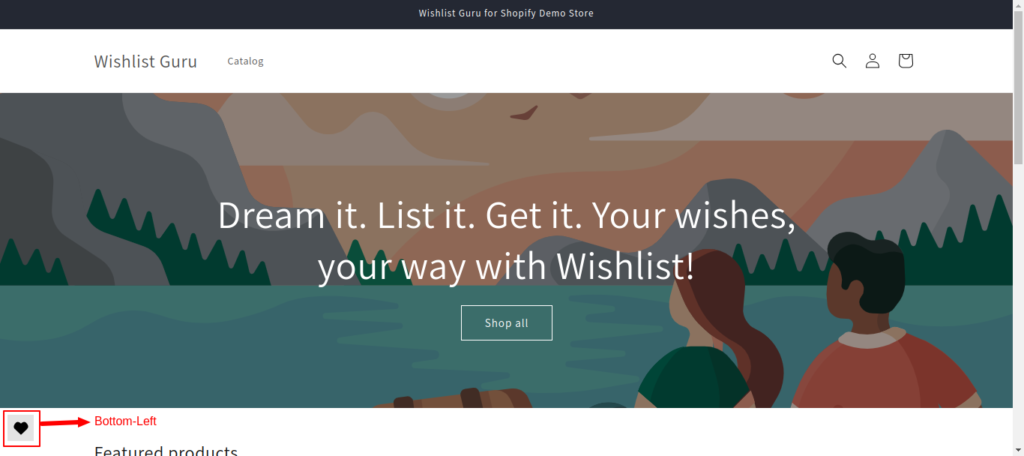
Opt for a dynamic user experience by selecting the type of floating icon for your store. Choose from options like floating icon bottom right, middle left, middle right, or bottom left, tailoring the placement to seamlessly integrate the Wishlist functionality into your site’s design. To do that follow the steps given below:
How to Enable it: #
- Go to Dashboard
- Scroll below you will find section Wishlist Icon Location, see below
- Click on Configured
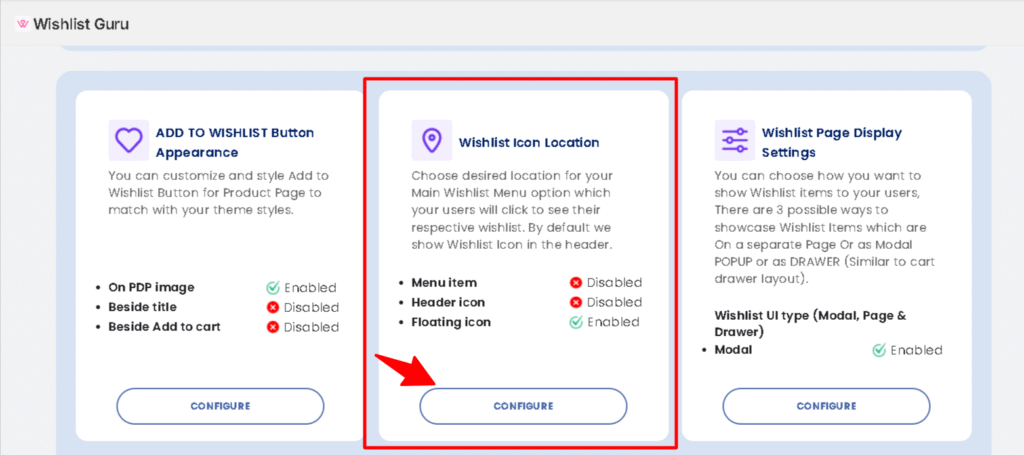
After that, you will be taken to the page where all the settings related to the wishlist icon location are located.


Within this section, select the option marked “As a floating icon button”. This ensures that the Wishlist will be displayed as a floating icon as per your desired location which is described in the following images.
Save settings after configuring the Wishlist display options by clicking on the “Save” button (located in the top right corner) to apply the changes.
Below are the images that show the floating icons according to their selected positions:
