To help you match your store’s design and improve user experience, Wishlist Guru allows you to fully customize the “Move to Cart” button displayed on the Wishlist page. From colors and fonts to hover effects, these settings give you control over how the button looks and behaves. In this guide, you’ll learn how to access the customization panel and apply style changes to both the regular and hover states of the button.
Go to General Settings>Wishlist Page Display Settings>Styles for the Move to Cart button
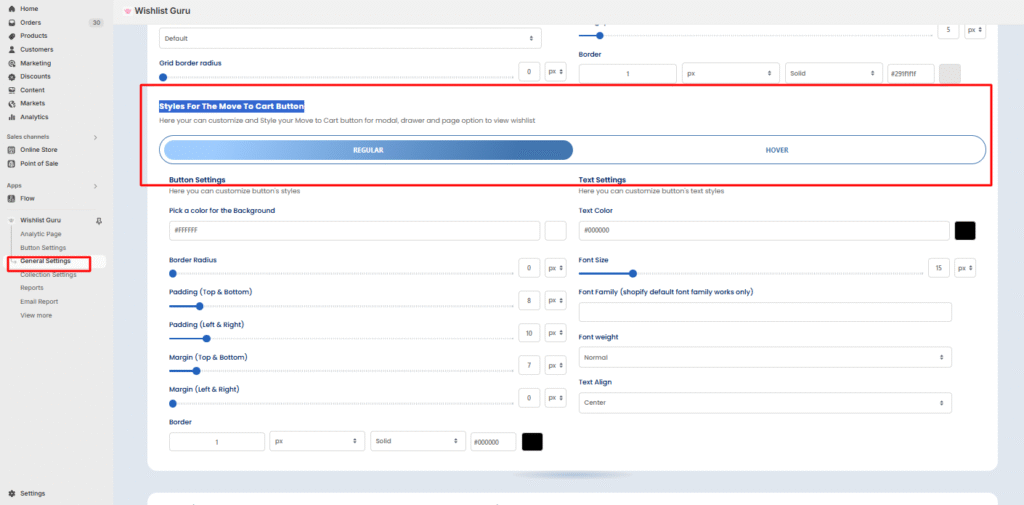
Styles for the Move to Cart Button #
The “Style Box” for the “Move to Cart” button allows you to customize various visual aspects of the button. The options available include two states: Regular and Hover.
- Regular State: This is the appearance of the button when it’s in its normal, idle state.
- Hover State: This is the appearance of the button when the user hovers over it with the cursor.
Customization Steps: #
- Select the Regular or Hover state from the available options.
- Adjust the visual aspects, such as color, size, font, background, and border.
- Preview the changes in real-time if the preview option is available.
Note: Don’t forget to click the Save button (located at the top right corner of your screen) after making changes to the “Move to Cart” button styles.
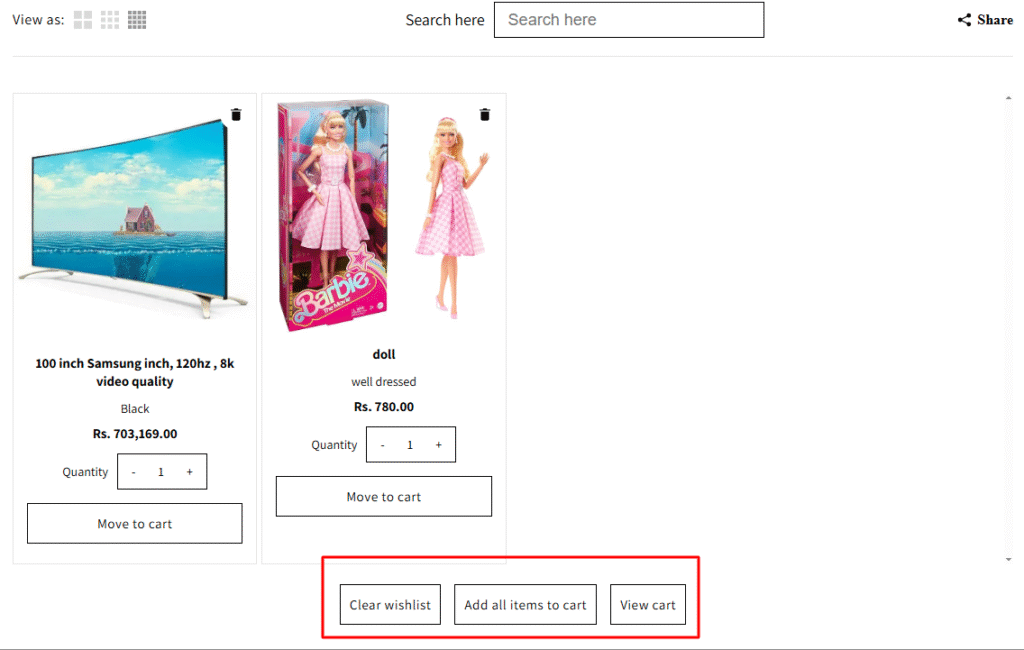
You can also check the appearance of your Move to Cart Button from from the front end as shown :
Note: All other button like clear wishlist, Add all items to cart, View cart will also have same styling according to the customization done for Move to Cart Button.